|
More ATM Projects |
||
|
15" 9-point Mirror Cell Mount |
||
|
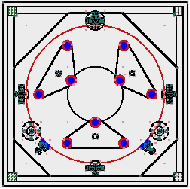
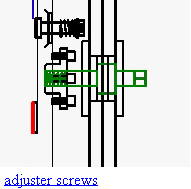
I briefly covered the mirrorcell in my construction article, I'll try to give you a little more detail here. I started with an 18"x 18"x 1/4 piece of plate aluminium. I cut down the corners and bored a 6" hole to reduce weight. Next I drilled three holes to mount the triangles at. I derived the locations for the triangles and pads using a formula from an article in Sky and Tel several years ago. The triangles are located to the base using 3/8x 1" shoulder bolts. A 1/8" rubber washer seperates the two pieces to allow the triangles to align themselves, and a spring on the back keeps a constant pressure on them. A 1/4" hole in the triangles sits over a 3/16" dowel to keep them from rotating out of alignment. Next three holes were bored to take a polyethylene bushings that bolt to the base plate. The bushings are tapped 1/2-20 to take the collimating bolts that are mounted in the mirror box. The plastic grips the adjuster screws snuggly so they will not move by themselves. The triangles are made of 1/2" aluminium plate and was machined to leave three 1" circular pads to which I glued three pieces of 1/16 thick poltethylene, the mirror sits on these. |
||
|
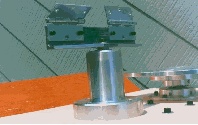
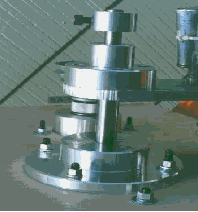
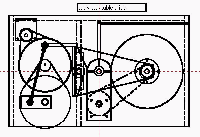
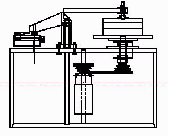
As a machinist I am accustom to letting the machines do the work with a little guiding influence from me. So the thought of having to push glass led me to build this machine. I came across several sites across the net with variations of Tom Waneo's machine. I bought a couple of gearmotors from a local surplus store, and scrounged some materials from the scrap bin at work and went to work. |
||
|
return to previous page go to the next page return to front page |
||