Modifications to my Strut
Mounting System for my 15" Dobsonian Telescope
When I originally built my
15" dob I made one error in my calculations, I forgot to include the
thickness of the mirror to the light path. This resulted
in the focal point being a bit past the limit of my focuser, and had to
use an extension tube to make it usable. I also designed a
quicker setup that I
incorperated into the 16" scope I built for the NBANB. Having
some
free time on my hands I finally got around to making the modifications.
Click on the pictures for a larger picture
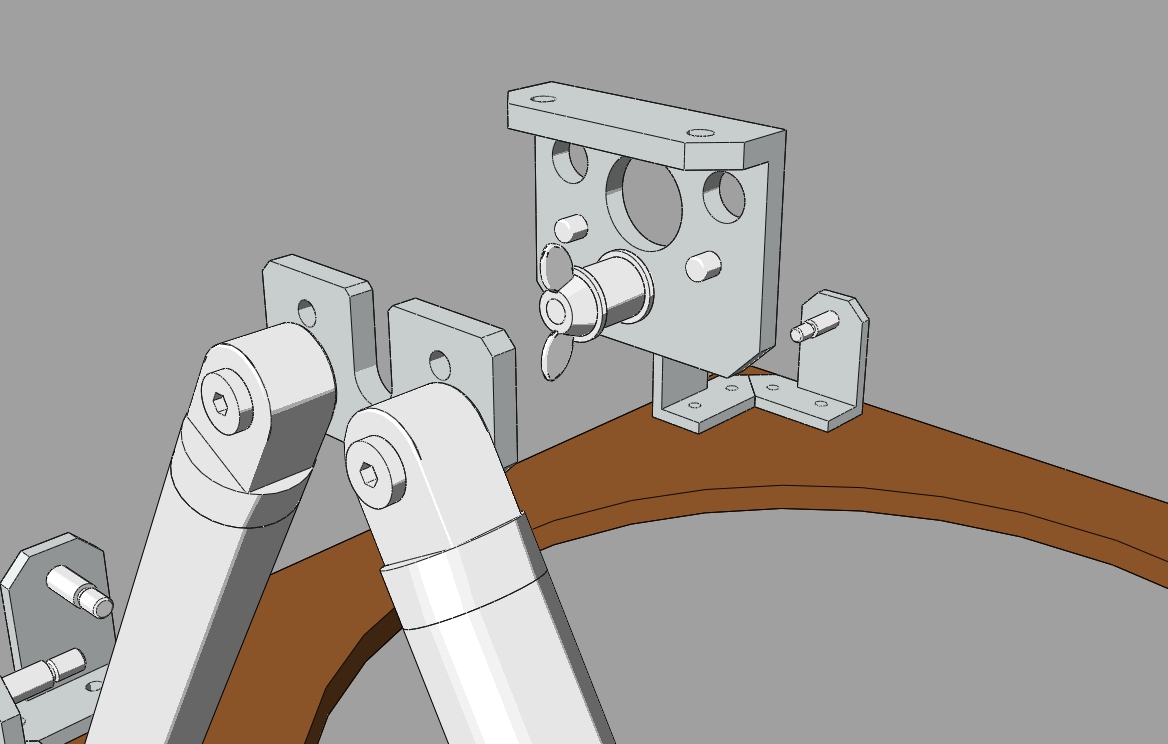
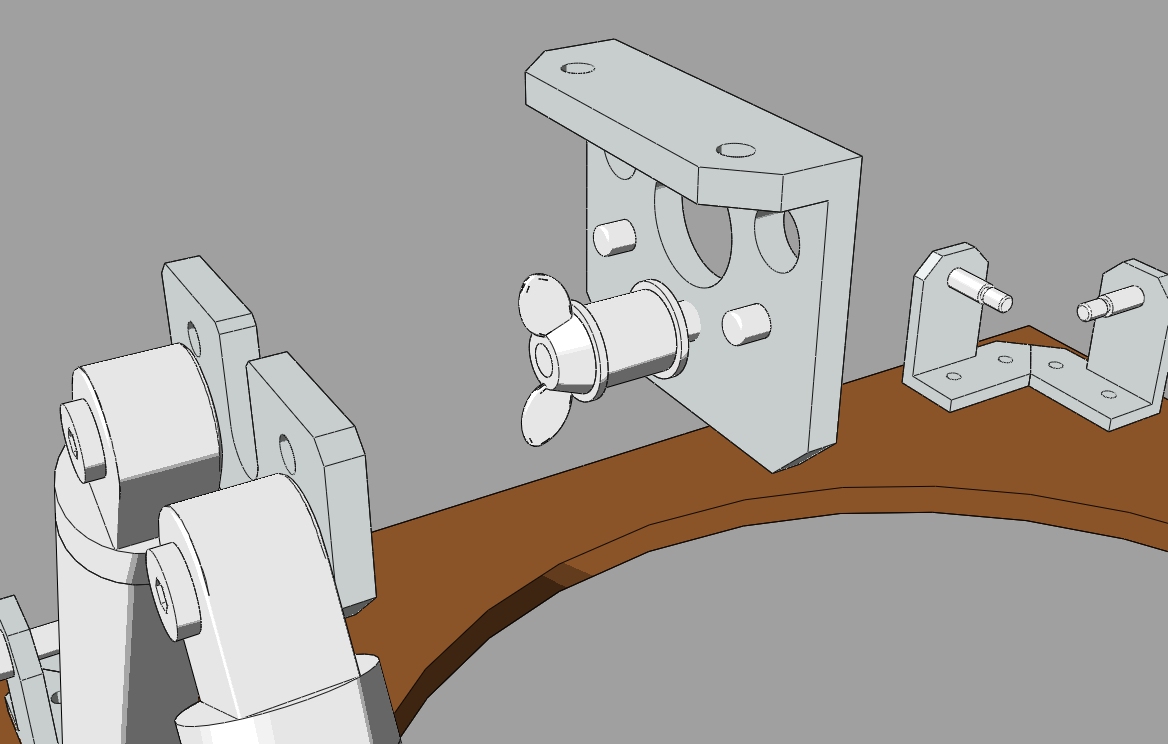
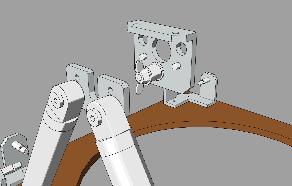
A couple of cad
drawing leading up to the machining of the parts. All drawings done in Rhinoceros and
and rendered in Penguin.

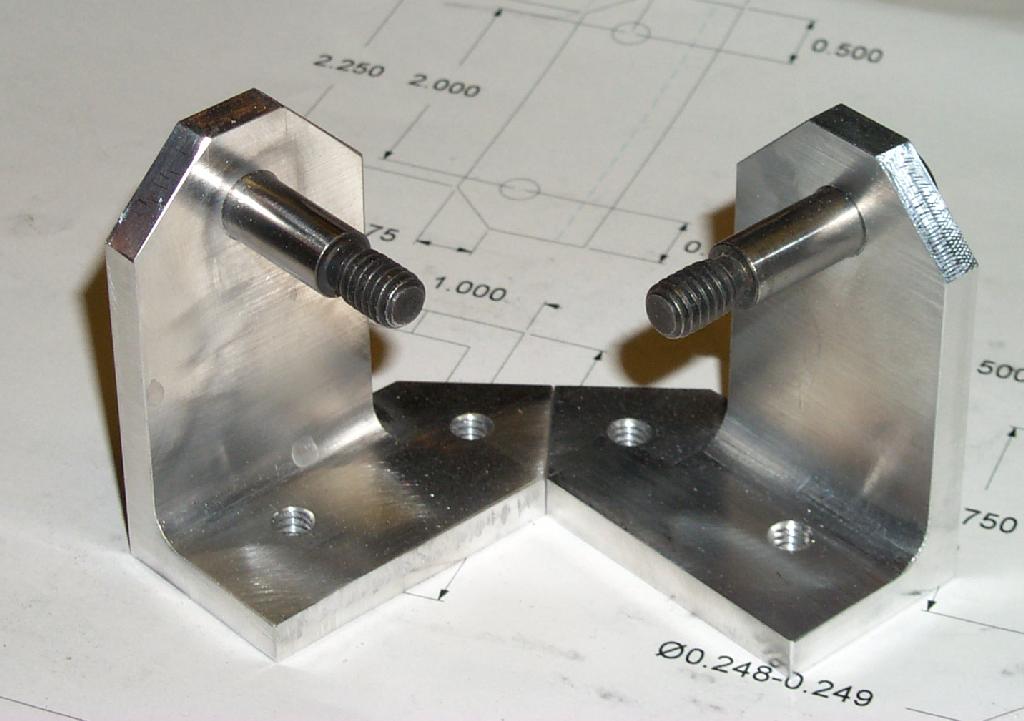
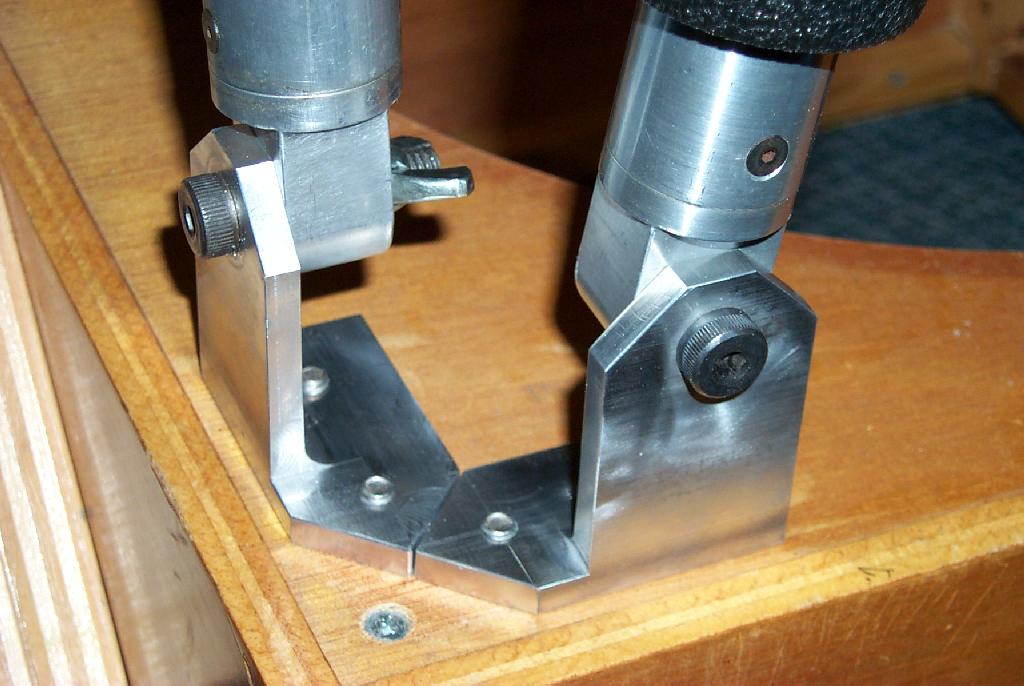
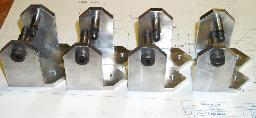
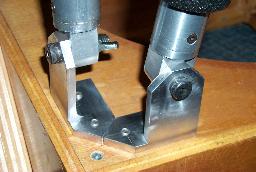
The brackets are made of 6061t6 aluminum angle.
There is a left and right
for each corner
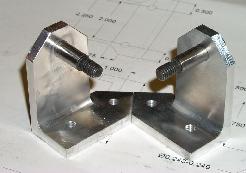
The bolts are 3/8 x 1 shoulder screws
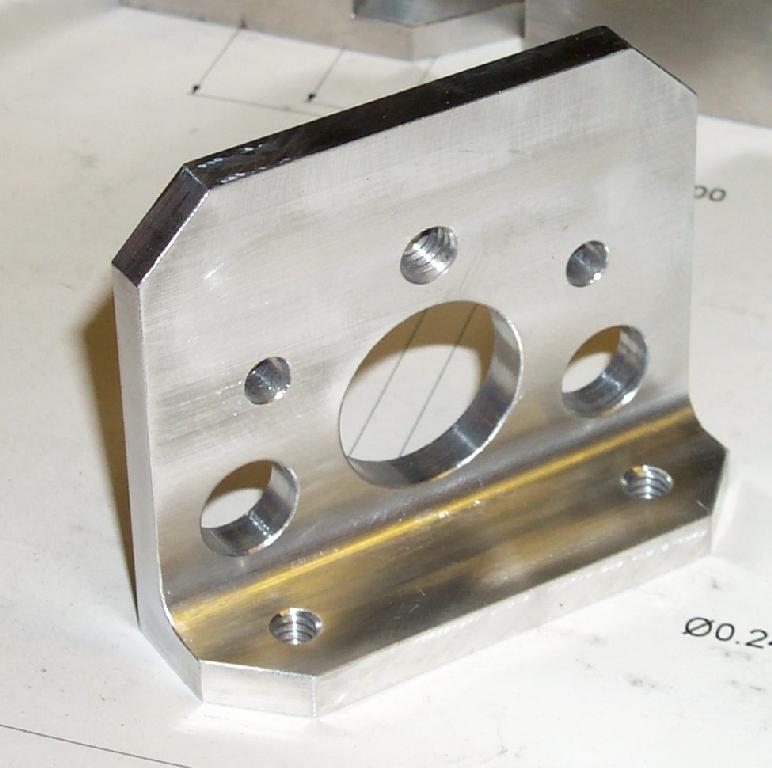
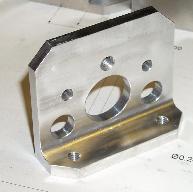
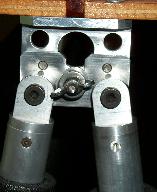
The upper brackets without the dowel pins that register the strut tie
plate
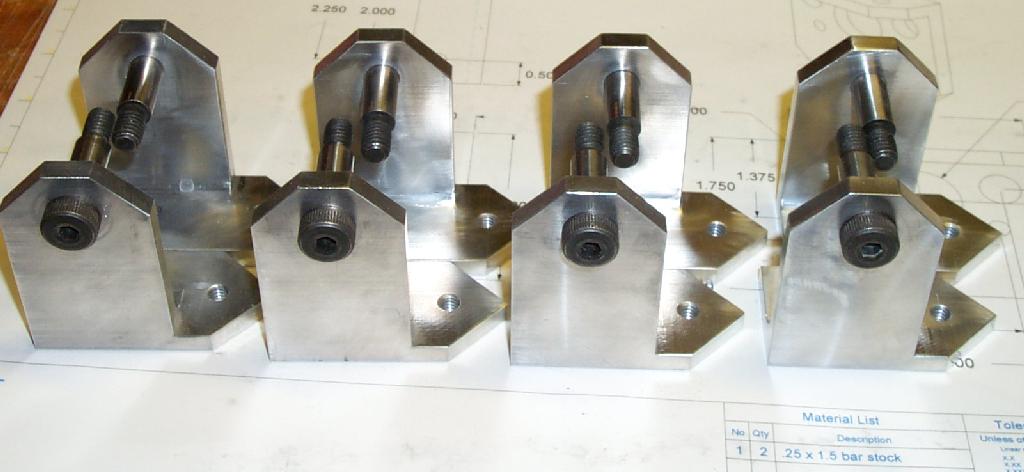
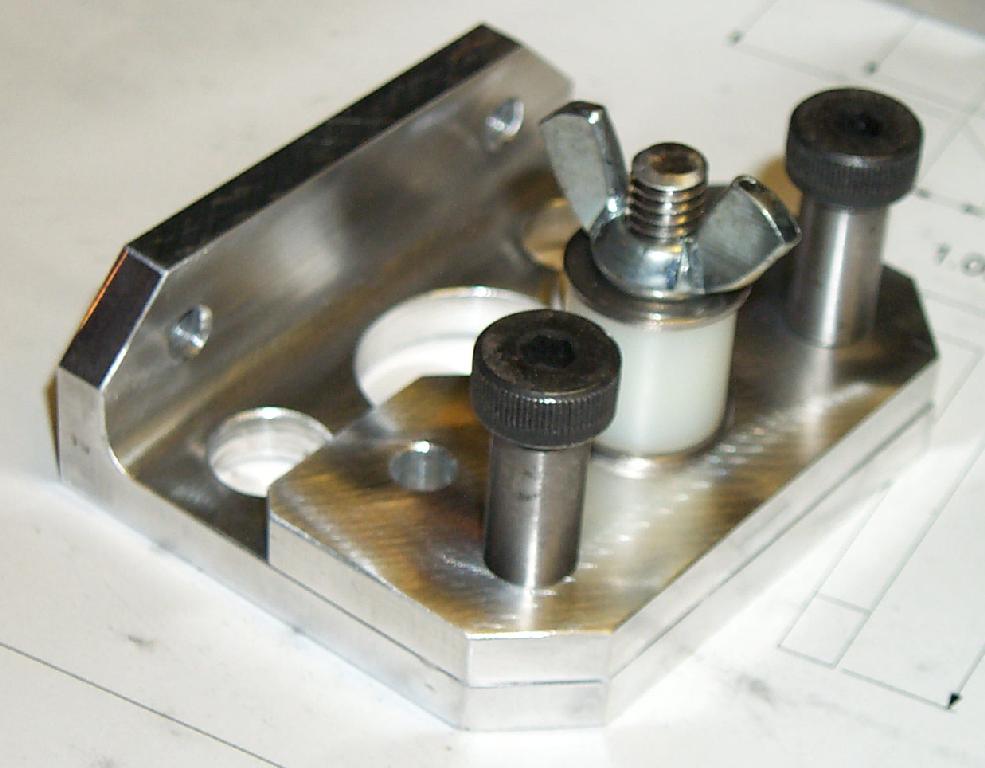
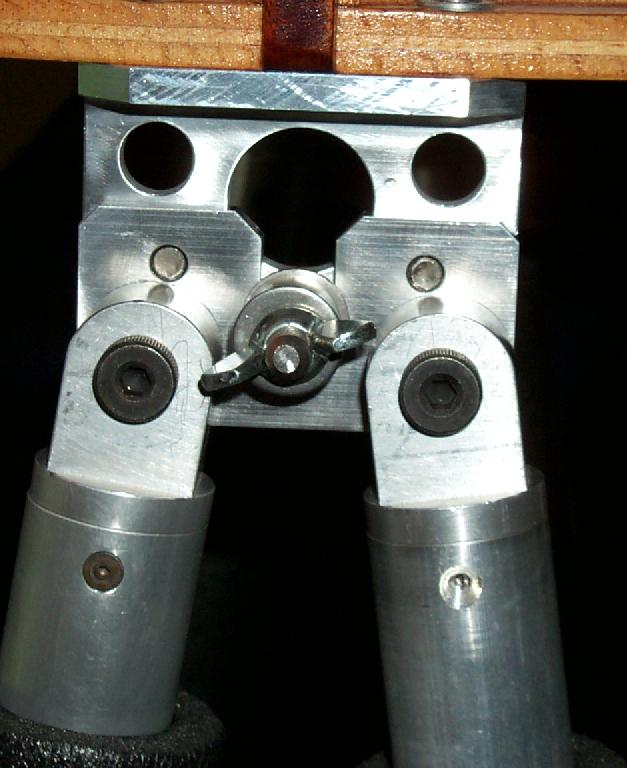
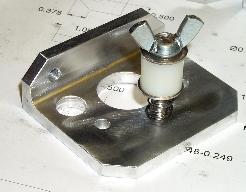
The upper strut bracket with the clamping bolt and thumb screws, all
stainless steel
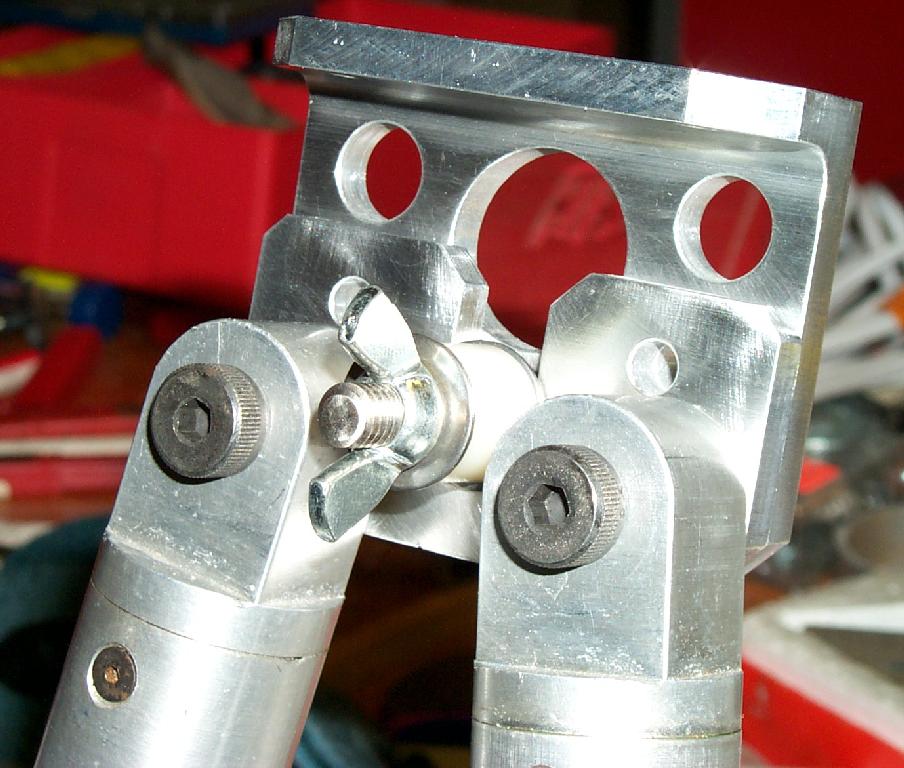
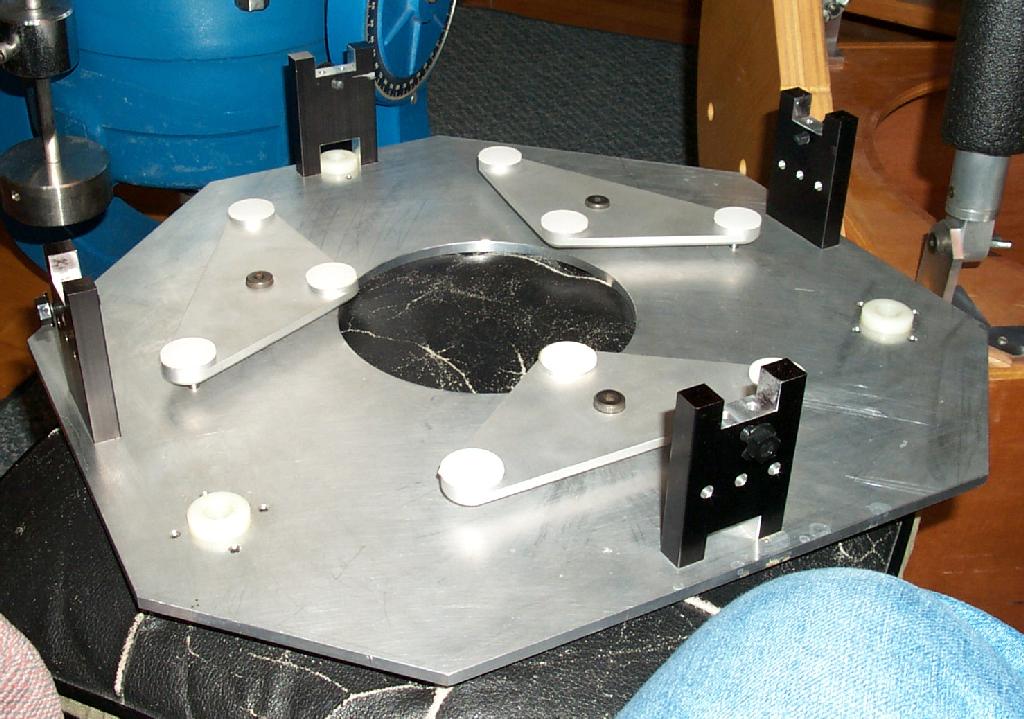
Shown here with the strut tie plate in position and clamped down

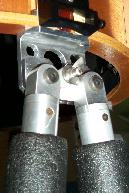
Here the struts are attachted to the tie plate with 3/8x3/4 shoulder
bolts.
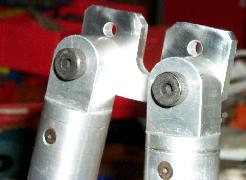
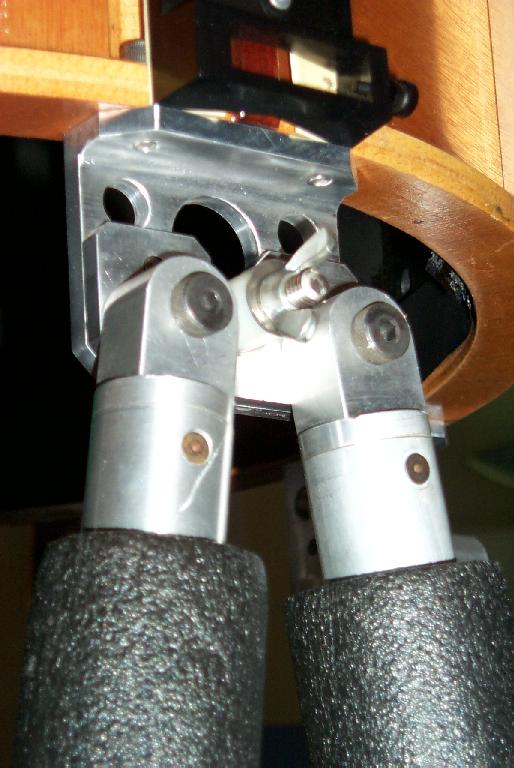
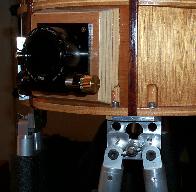
And with the tie plate onto the upper strut mount

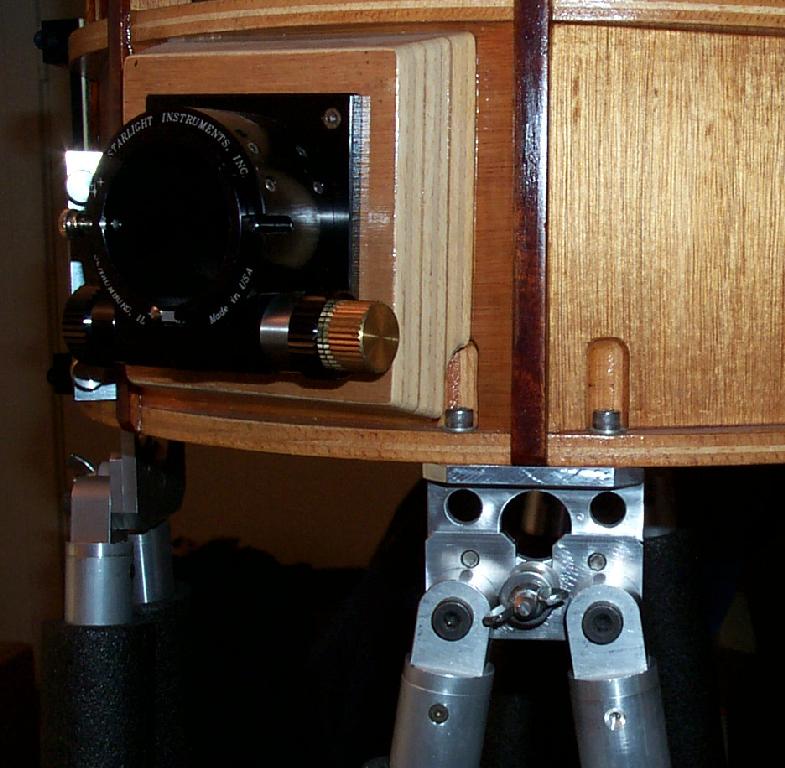
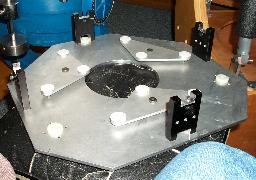
I got the parts assembled and mounted on the scope
today
Some shots from different angles
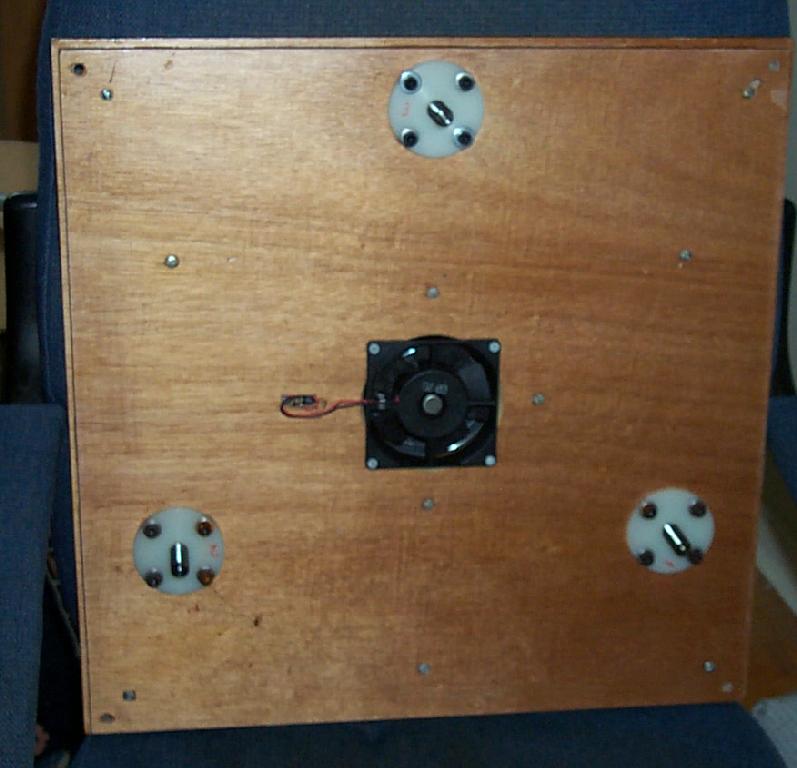
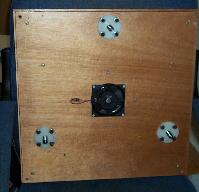
Some pictures of the mirrorcell out of the scope.
I have to clean it and the mirror as well.
The inside of the tailgate with the fan and adjuster screws
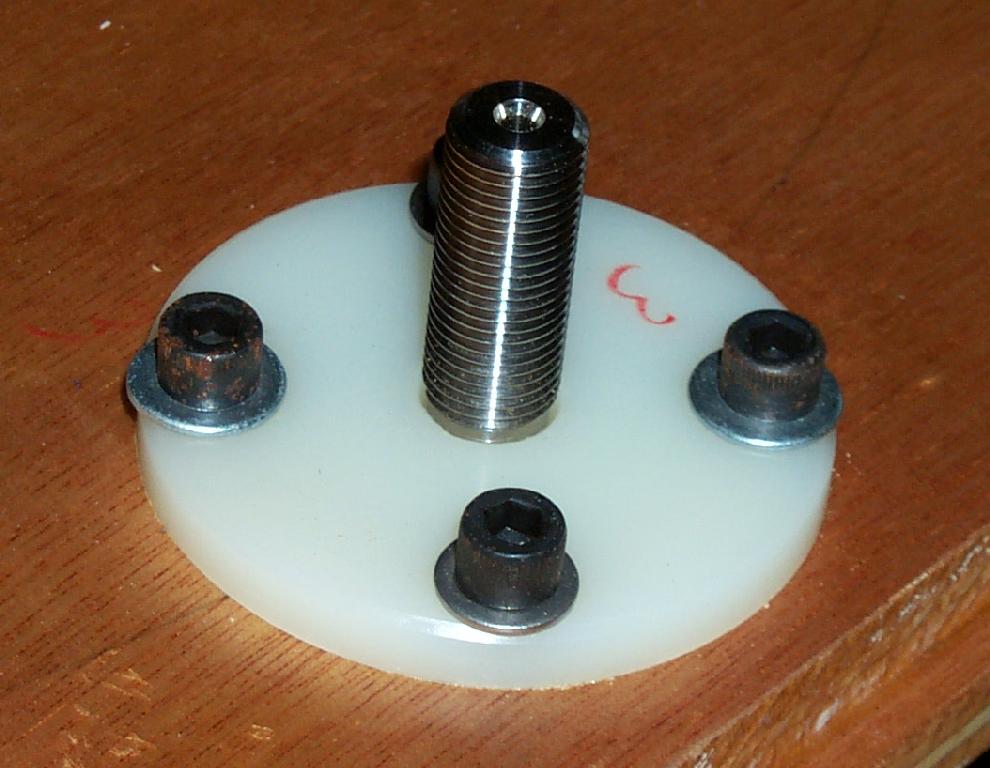
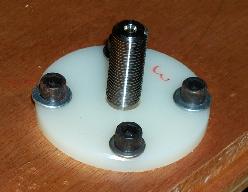
a close-up of the adjuster screws, made of Titanium (I didn't have any
stainless steel :-)
This page updated July 6, 2004